


As soon as I heard the doctor say “It’s a Girl!” at our 20 week ultrasound, I began envisioning all of the cute headbands that I was going to buy for our sweet little girl. I quickly went to Etsy that evening and began searching through all the varieties to see which ones I would purchase first. After I chose a few and clicked on the checkout button, I was shocked at the total price. Was I really going to pay $40 for four tiny little headbands?! But I had to get all four of them since we would need at least four basic colors to match her outfits, right? I decided to leave the items in the cart and see if I could come up with another solution. A few days later it came to me, why don’t I just make my own interchangeable headbands?!
These headbands are very comfortable, extremely easy to make, and super affordable. I love making them for my daughters and they add that perfect girly touch to any outfit. Not only are these fun to make for your own kids, but they make great baby gifts as well!

Supply List:
Tape measure
Scissors
Hot glue gun and glue
Hammer
Snaps
Snap tool (Any craft store will have these.)
Fold over elastic (FOE)
Chiffon flower trim
Felt circle with adhesive backing
(I purchased the FOE, chiffon flower trim, and felt circles from Etsy.com. There are endless color and print options at great prices.)
- Measure and cut the FOE based on the age of child you are creating the headband for. Typically the measurements are the following:
- 0-3 months – 13 inches
- 3-6 months – 14 inches
- 6-18 months – 15 inches
- 18 months and older – 16 inches

- Fold over the elastic overlapping ½ inch and glue the ends together using the hot glue gun. I suggest placing the glue on the outer edges of the FOE to allow room in the center for the snap.

- Use your snap tool to add one side of the snap onto the FOE where you overlapped the two ends.
- Cut a single flower out of the flower trim and clean up the edges.
- Remove paper from felt circle and add other half of snap to the felt circle. Make sure the part that snaps onto the other half of the snap on the headband on the felt side, not the adhesive side.
- Stick the felt circle onto the bottom of the trim flower.
- Snap the flower onto the FOE headband and your headband is now finished.


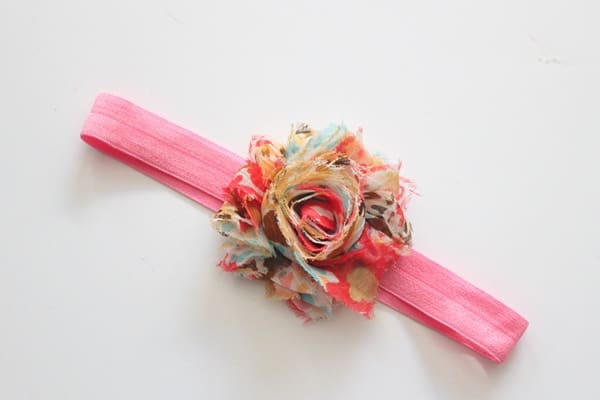
You can create different colored headbands and change out the flowers on them to create different color combinations. The options are endless!

Now for the cost breakdown. I already had the basics at home such as the hammer and hot glue gun so here is the cost for the items I had to purchase to make 10 headbands:
Snaps with tool – $3.77
Fold Over Elastic (FOE) – $2.00 for 5 yards
Chiffon flower trim – $2.50 for 10 flowers
Felt circle with adhesive backing – $1.50
Total Cost – $9.77
Cost per headband – $.97 … That is less that $1 per headband!